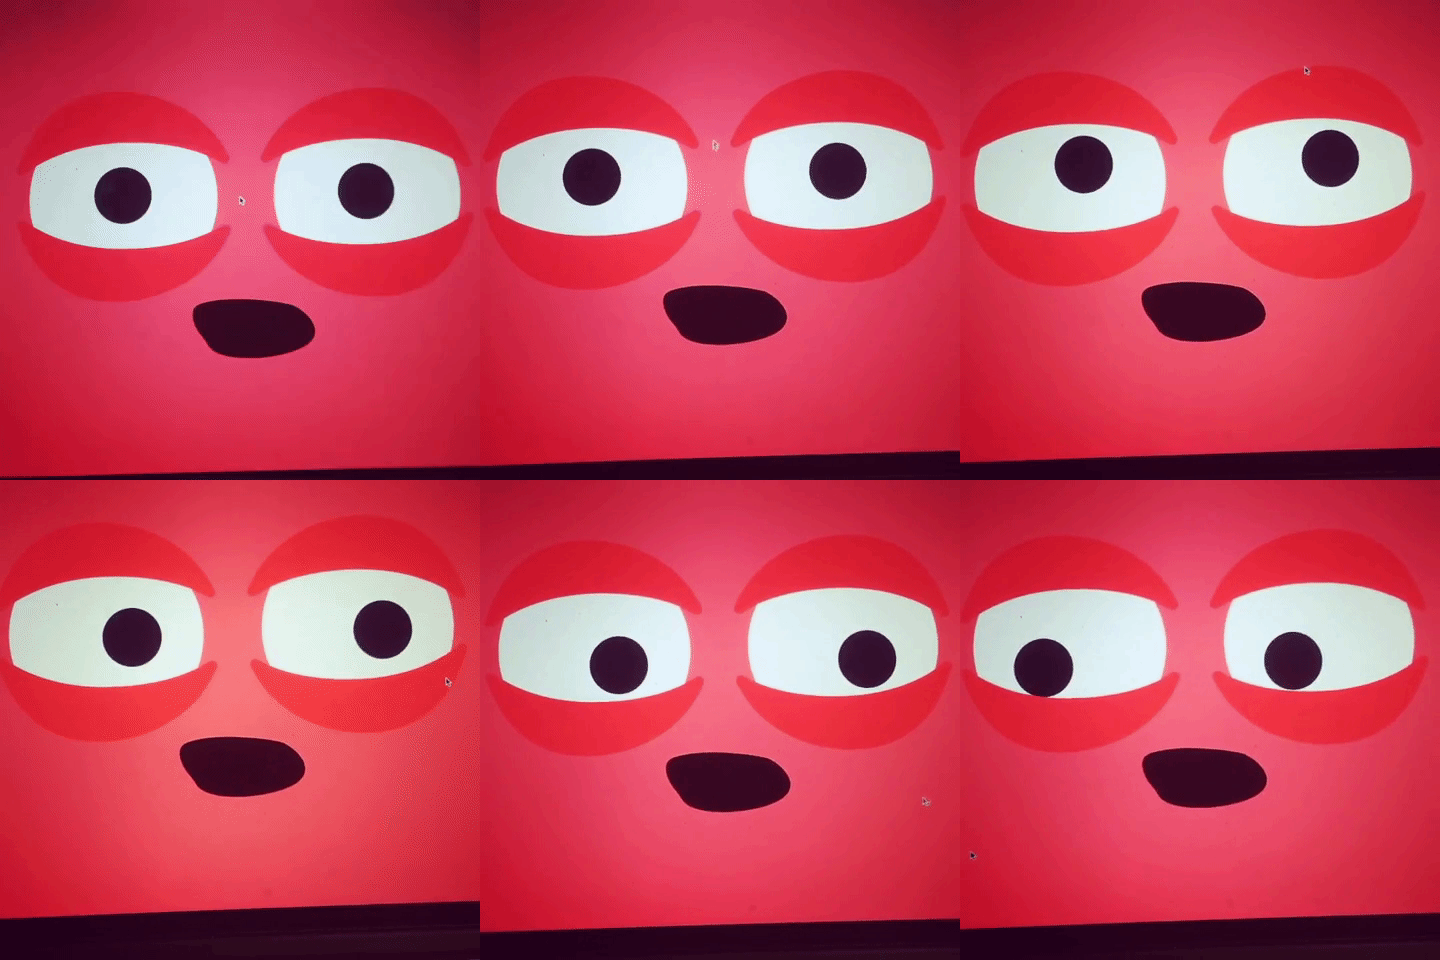
Eyes is a multimedia side project that helped me refine my 3D modeling, 3D printing, and projection mapping skills. It had 3 iterations, each of which had me solving the problem I had created for myself using a new kind of tool and way of thinking.
PART 1: HALLOWEEN
It all began with me wanting to make an epic Halloween costume (spoiler alert, that’s not how it ended.) Given my track record of epic halloween costumes, I was eager to one up myself once more and decided to attempt to build a Lord Mystic costume based off of the benevolent character from Hong Kong Disneyland’s attraction Mystic Manor.
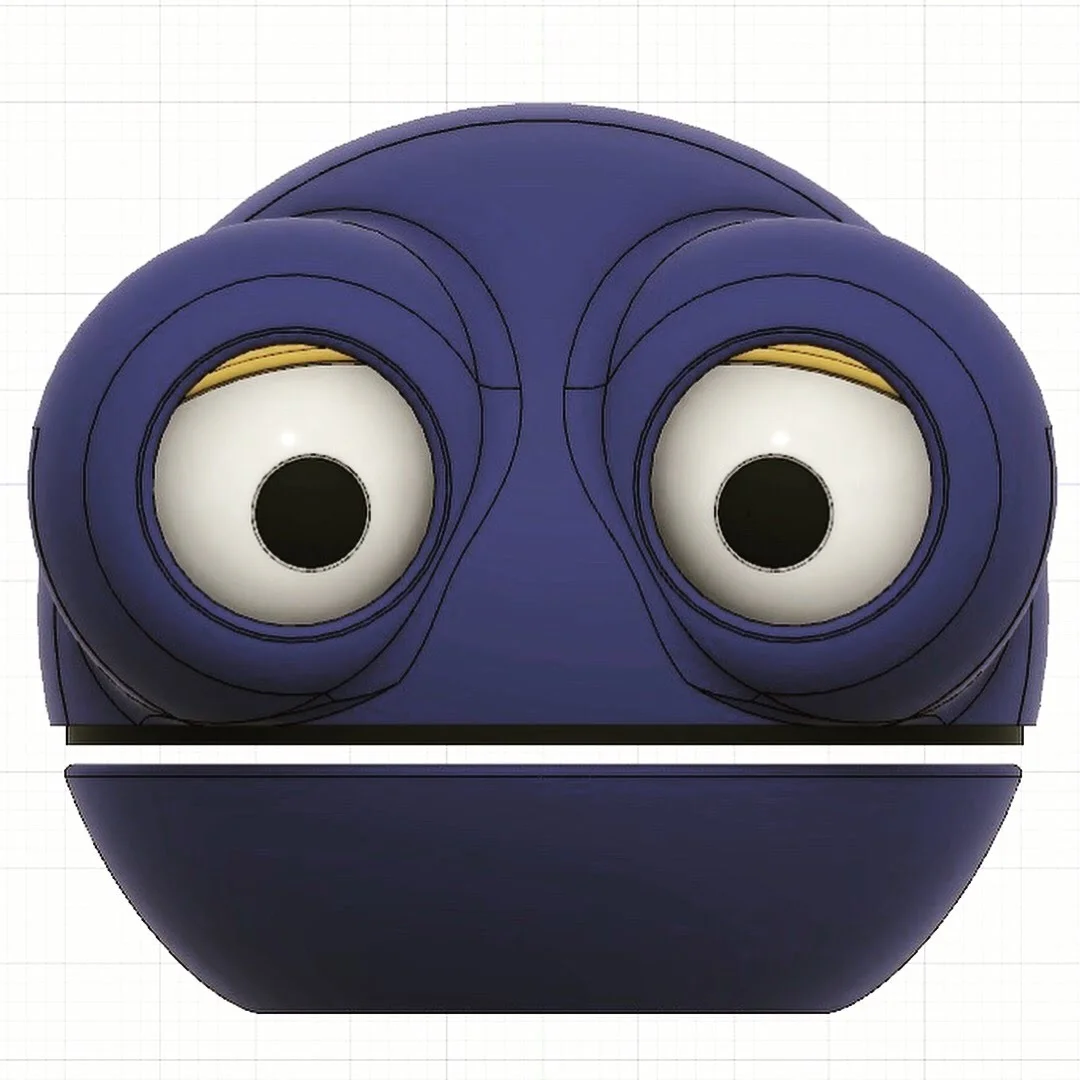
Pictured right, you can see Lord Mystic has a cute little monkey friend named Albert. So the costume plan became to build an Albert puppet that would spring out of the mythical music box that I could manipulate with a false arm making it look like Albert was moving on his own, kinda like my Audrey II puppet. I wanted to challenge myself and improve my 3D modeling/printing skills, so I decided I would mechanize Albert’s eyes and 3D print them. The first set of eyes looked like this:
Modeled and rendered in Fusion 360
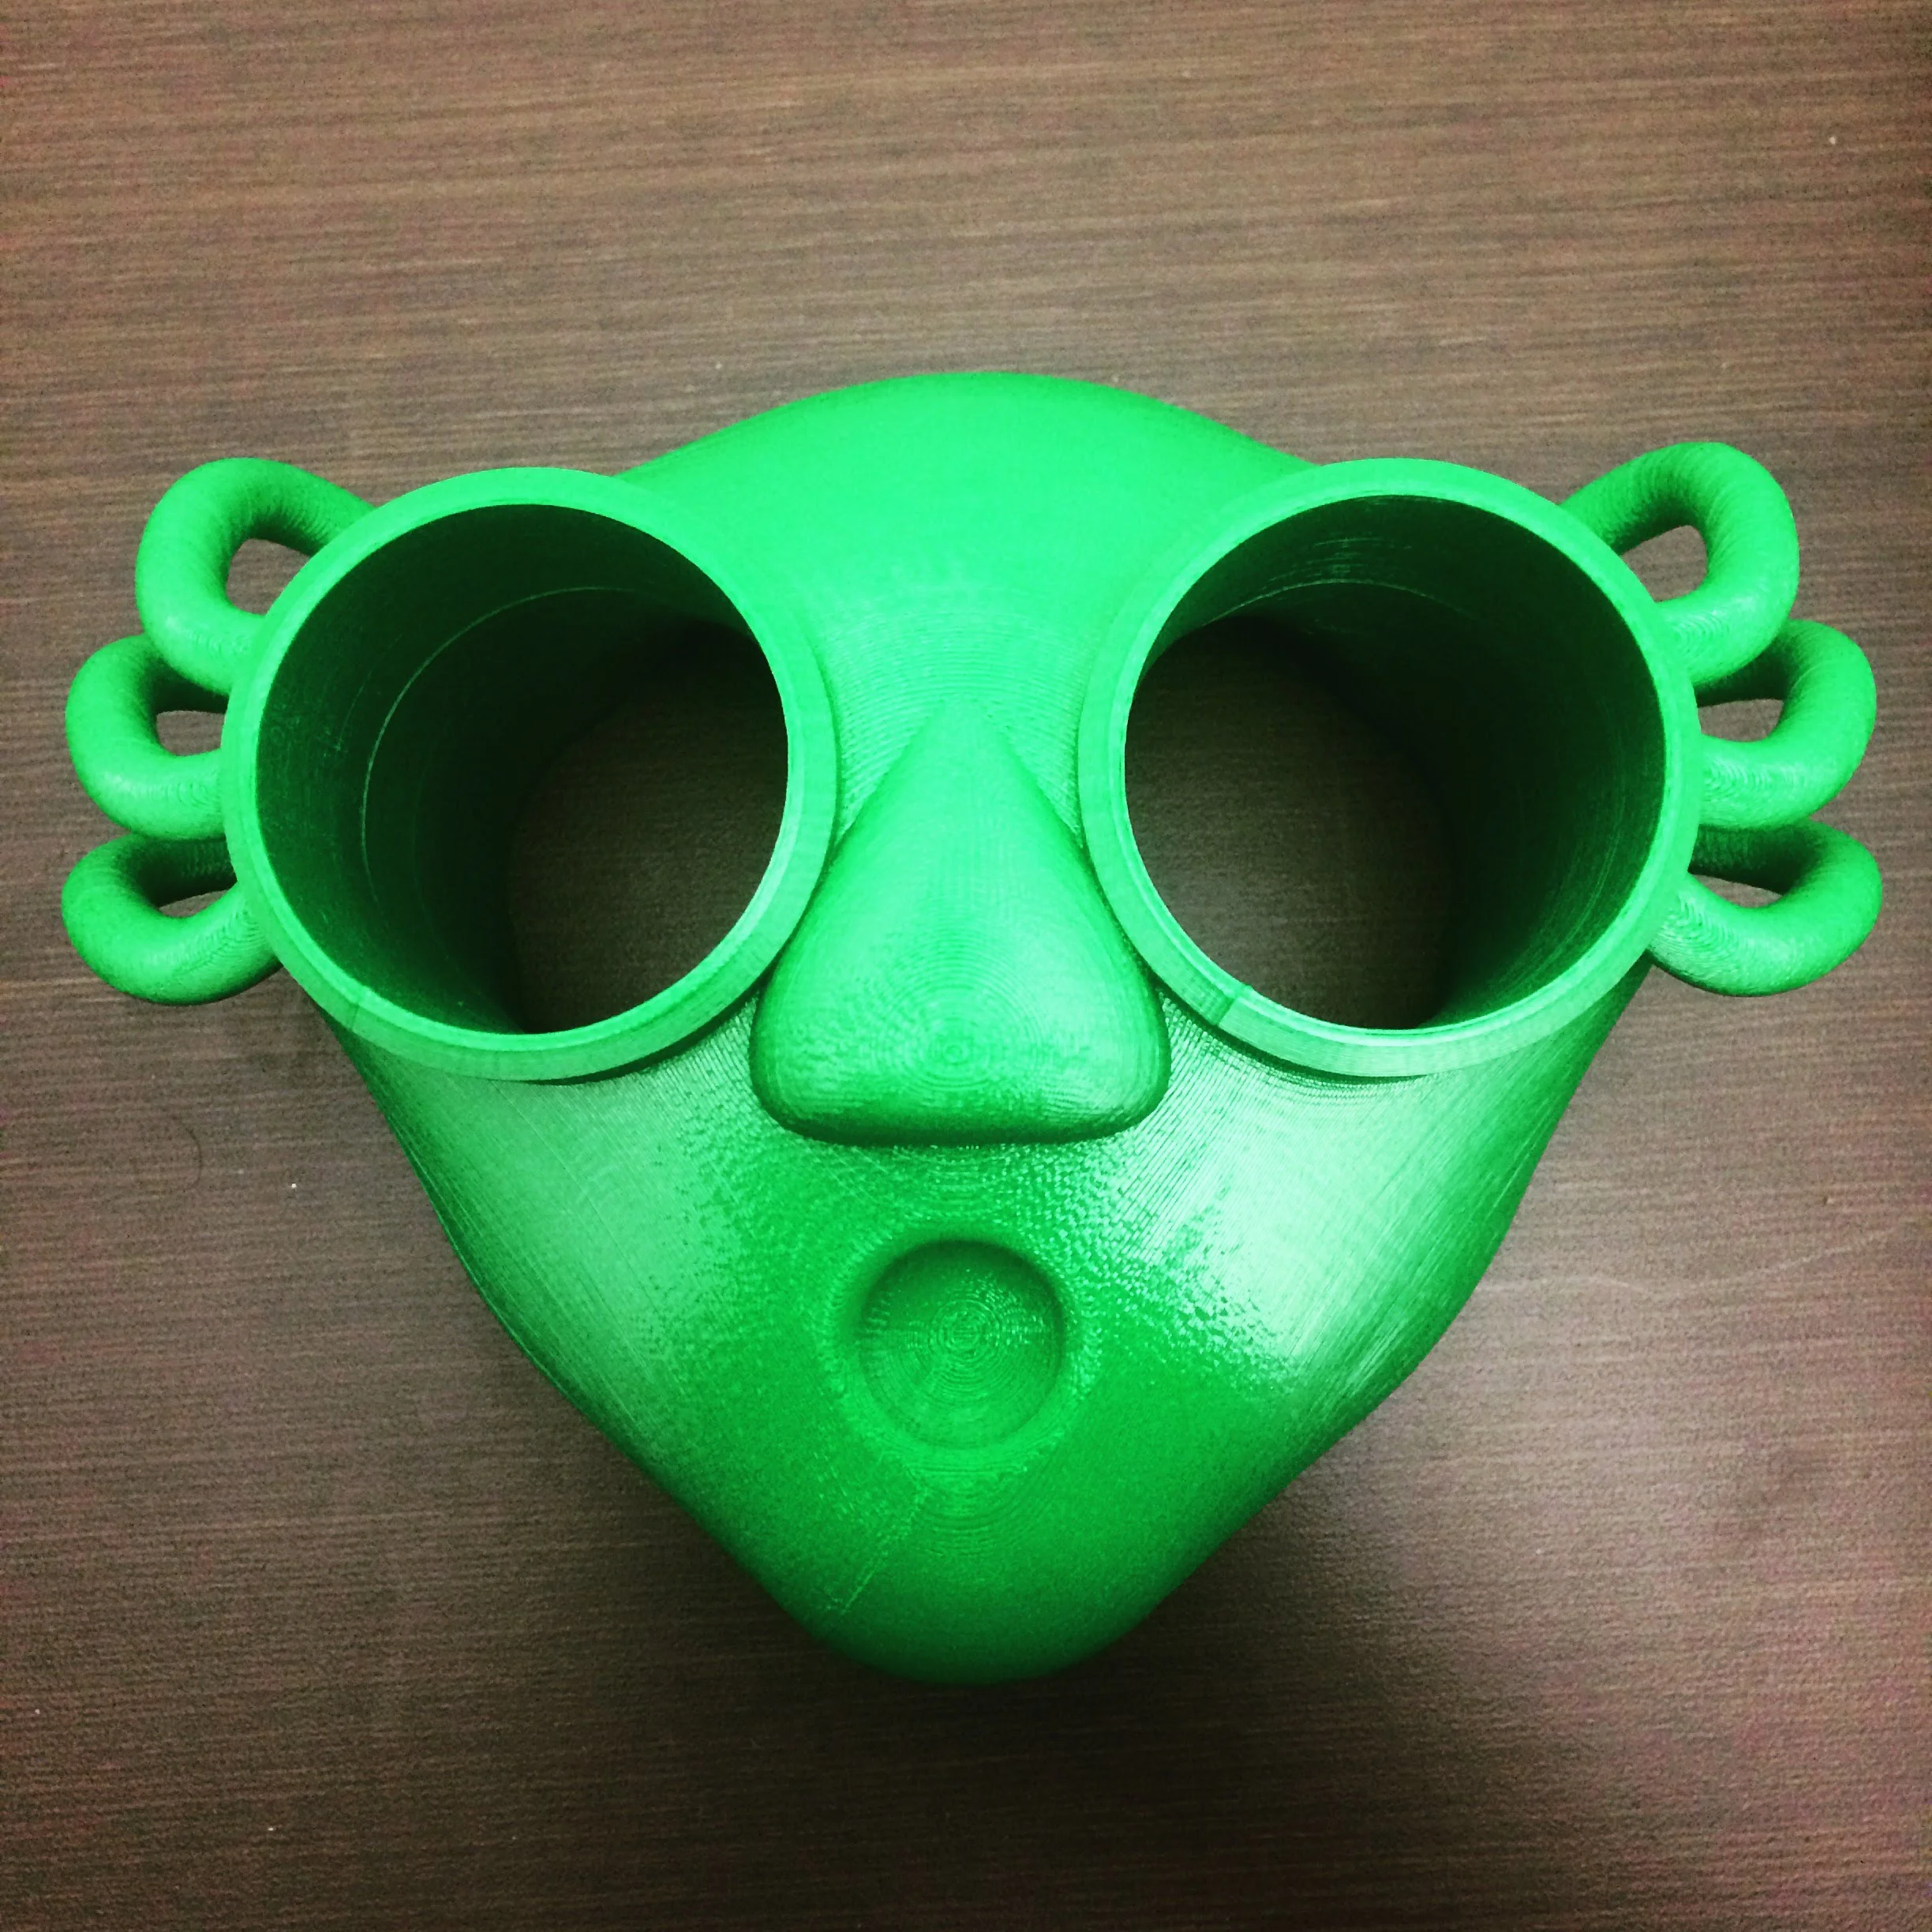
Designed to all be snapped/glued together and printed with zero supports, I gave it a whirl and printed it out and it turned out really cool:
But there was a problem…at over nine inches across they were way too big and heavy to be put into a traditional hand puppet. At this point I shelved the Albert idea, and just decided to see if I could somehow mechanize the eyes to be mechanically operated with one hand.
PART 2: ENTER THE GEARS
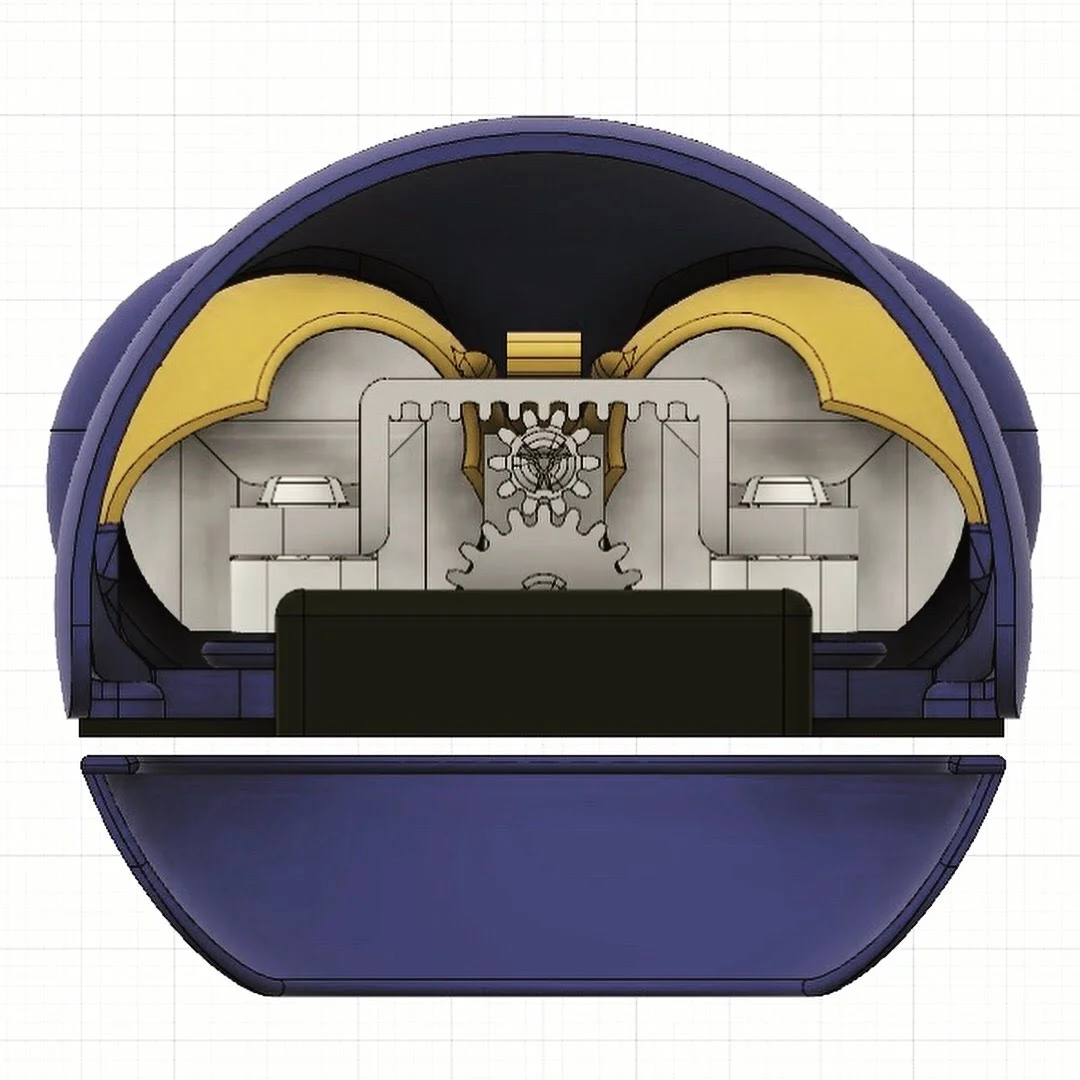
I began modeling the eyes again from scratch in Fusion 360, this time trying to make them a more manageable size to keep the weight down. I also still wanted to make sure that I could print all parts with no supports (as they muck up the mechanical tolerances), so I had to get pretty creative with some snap together pieces and how the final assembly would be made. Here’s the final model, front and back:
The main mechanical feature of this set of eyes is a rack and pinion that transforms the rotation of the user’s fingers into a linear motion that shifts the pupils side to side. This mechanism was tightly packed into the 5 inch diameter head. I also modeled a lower jaw, with the idea of wrapping the whole puppet up in fabric and making a fully mechanized hand puppet.
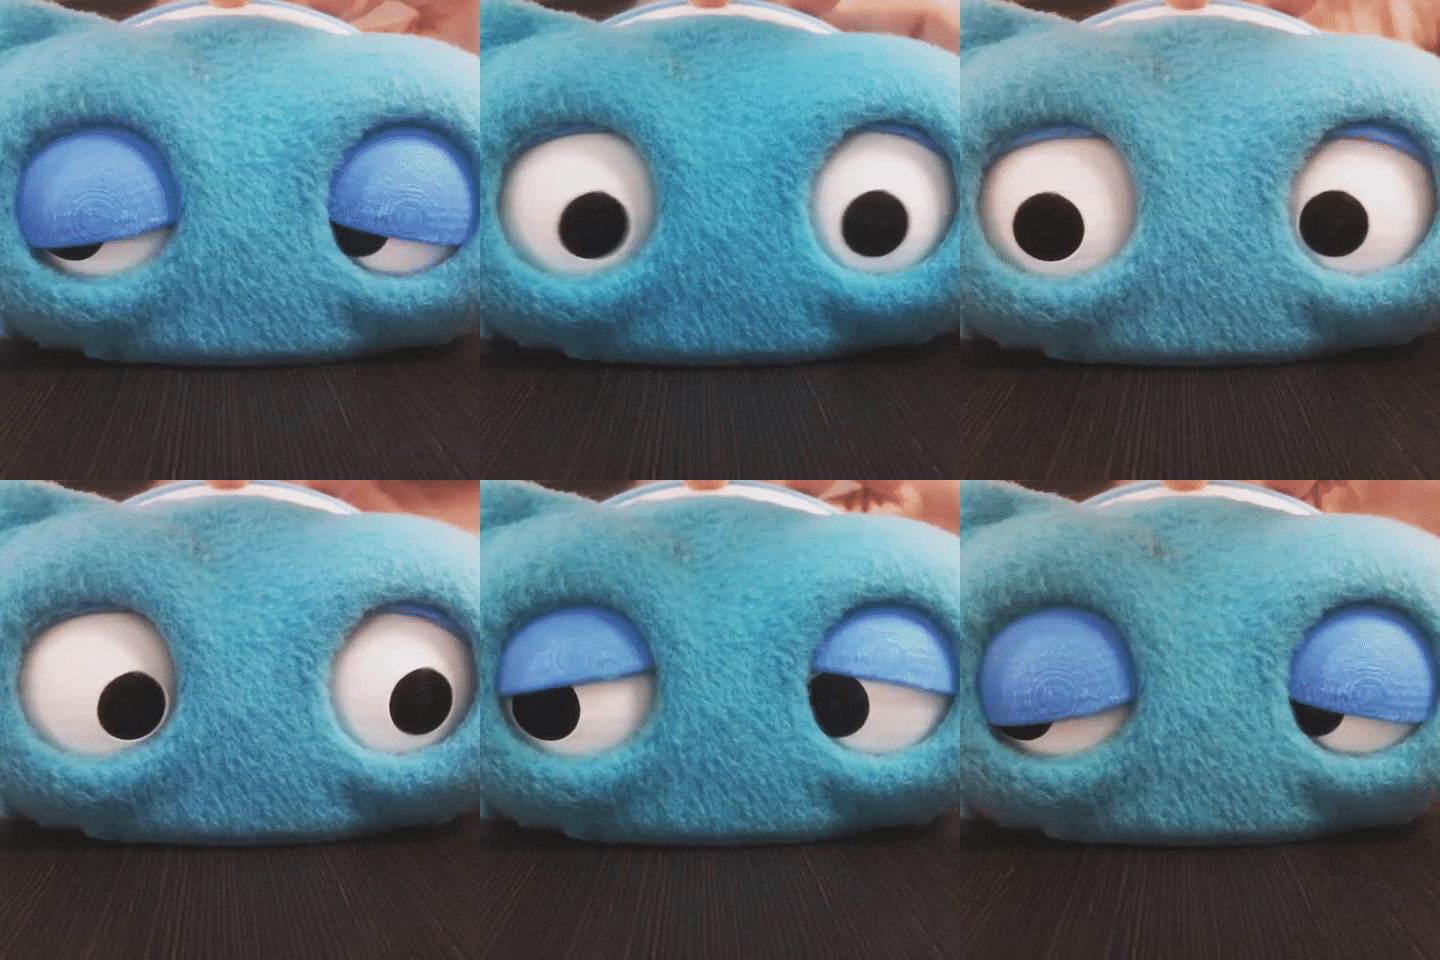
Here’s the eyes printed out and dressed in fleece:
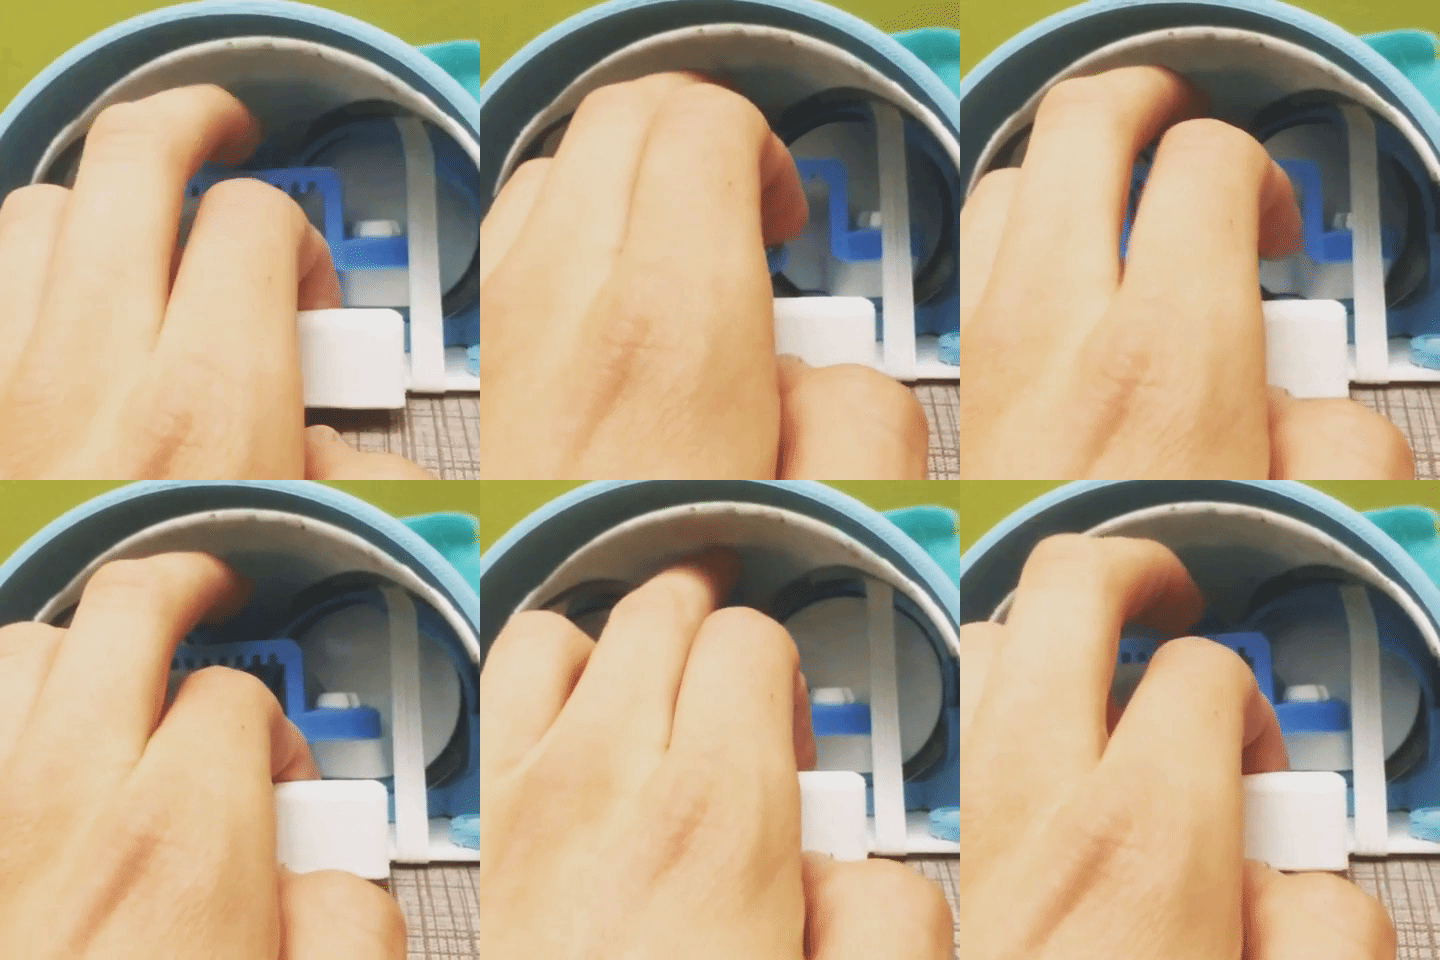
And here’s a snapshot of the mechanism in action. You can see my pointer and ring finger swiveling to move the pupils side to side, while my middle finger pushes the eyelids open and close.
I am really proud of this mechanical solution, but it did have its drawbacks. Though I think it’s elegant in its own way, it still wasn’t elegant enough to fit in a hand puppet’s head and allow me to still operate the mouth. But, I was starting to like this idea of making eyes a lot, and I began to imagine what could happen if I motorized them to track people as they walked past it. However, I didn’t have the electronics expertise to motorize them and create the code for them. However, I had taken a introductory Unity course and it dawned on me that even though I couldn’t make them track someone using physical means, I might be able to replicate the effect digitally…
PART 3: THE DIGITAL EYES
The goal was to create a set of digital eyes that would track the face of whoever was looking at it. When I started this part of the process, I had no idea what the end product would look like. As such, I had to take baby steps and iterate my design and code slowly as to not bite off more than I could manage.
Before committing to Unity, I wanted to try to create the end goal in a slightly more casual software. I made a little interactive piece in P5.js that tracked the cursor in the same way I wanted the pupils to somehow track my face. This way, I could best understand the relationship between the position of the object and how the pupils would move.
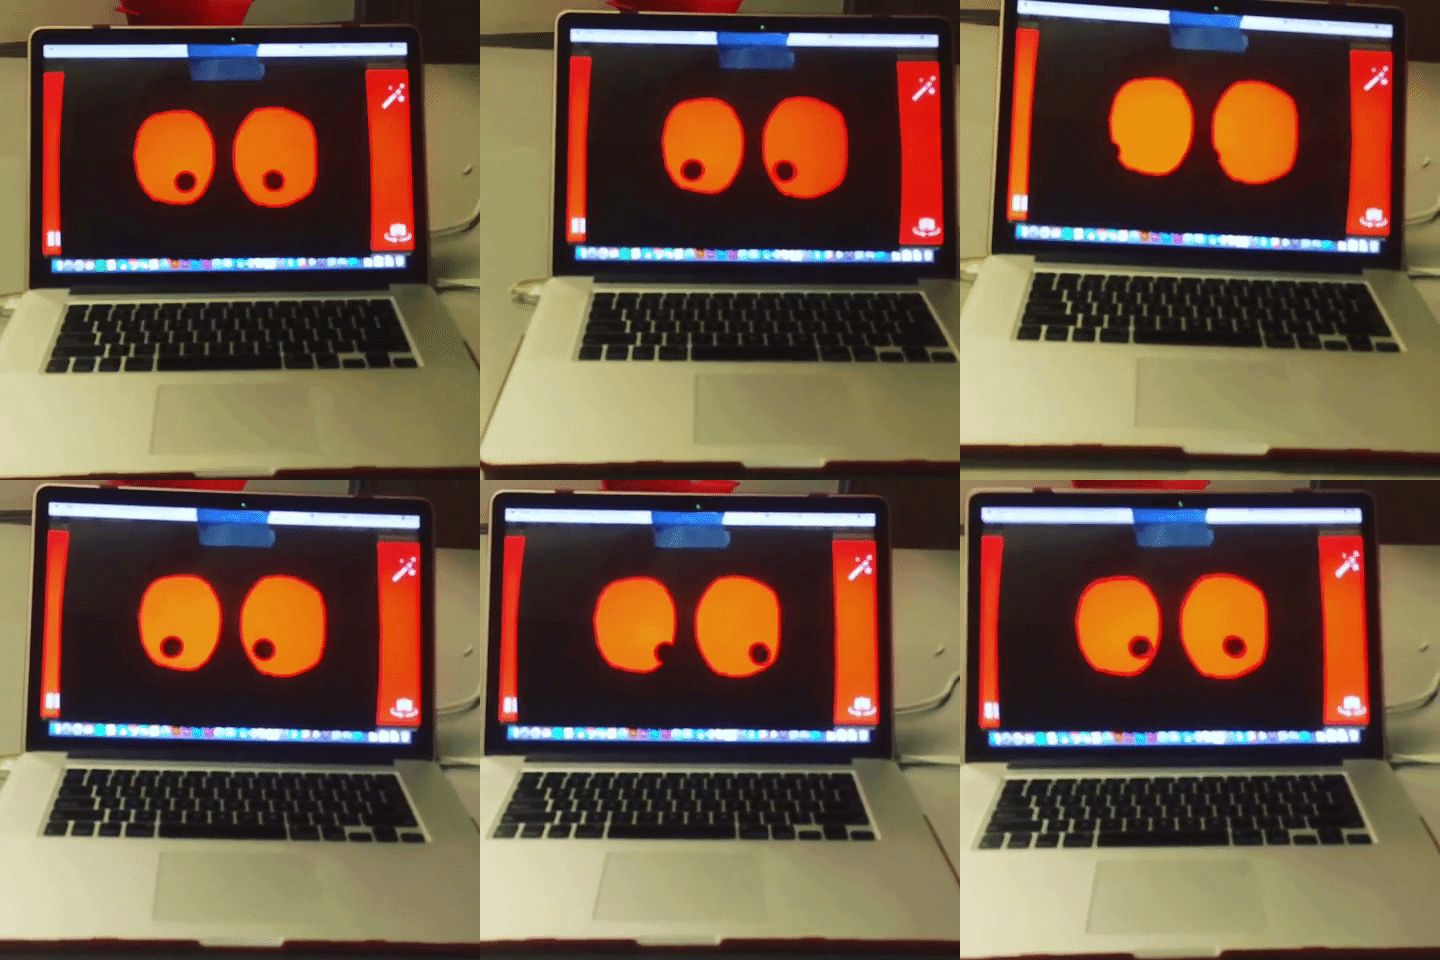
Okay so we’re getting there. Next I downloaded some open source face tracking software that was Unity compatible. It’s some pretty thorough face tracking stuff and I could barely decipher what the code meant, but I was able to mess with it enough to get it to make a black dot move in response to how I moved my face. Then I was able to turn one dot into two. It somehow wasn’t as simple as it sounds.
As you can see, taping a sheet of paper with two holes cut into it helped assign context to the floating black dots, and I realized I had something that just might work.
Now that I had gotten the eyes following my face, it was time to give the black sheet of paper with two holes cut into it a little more character.
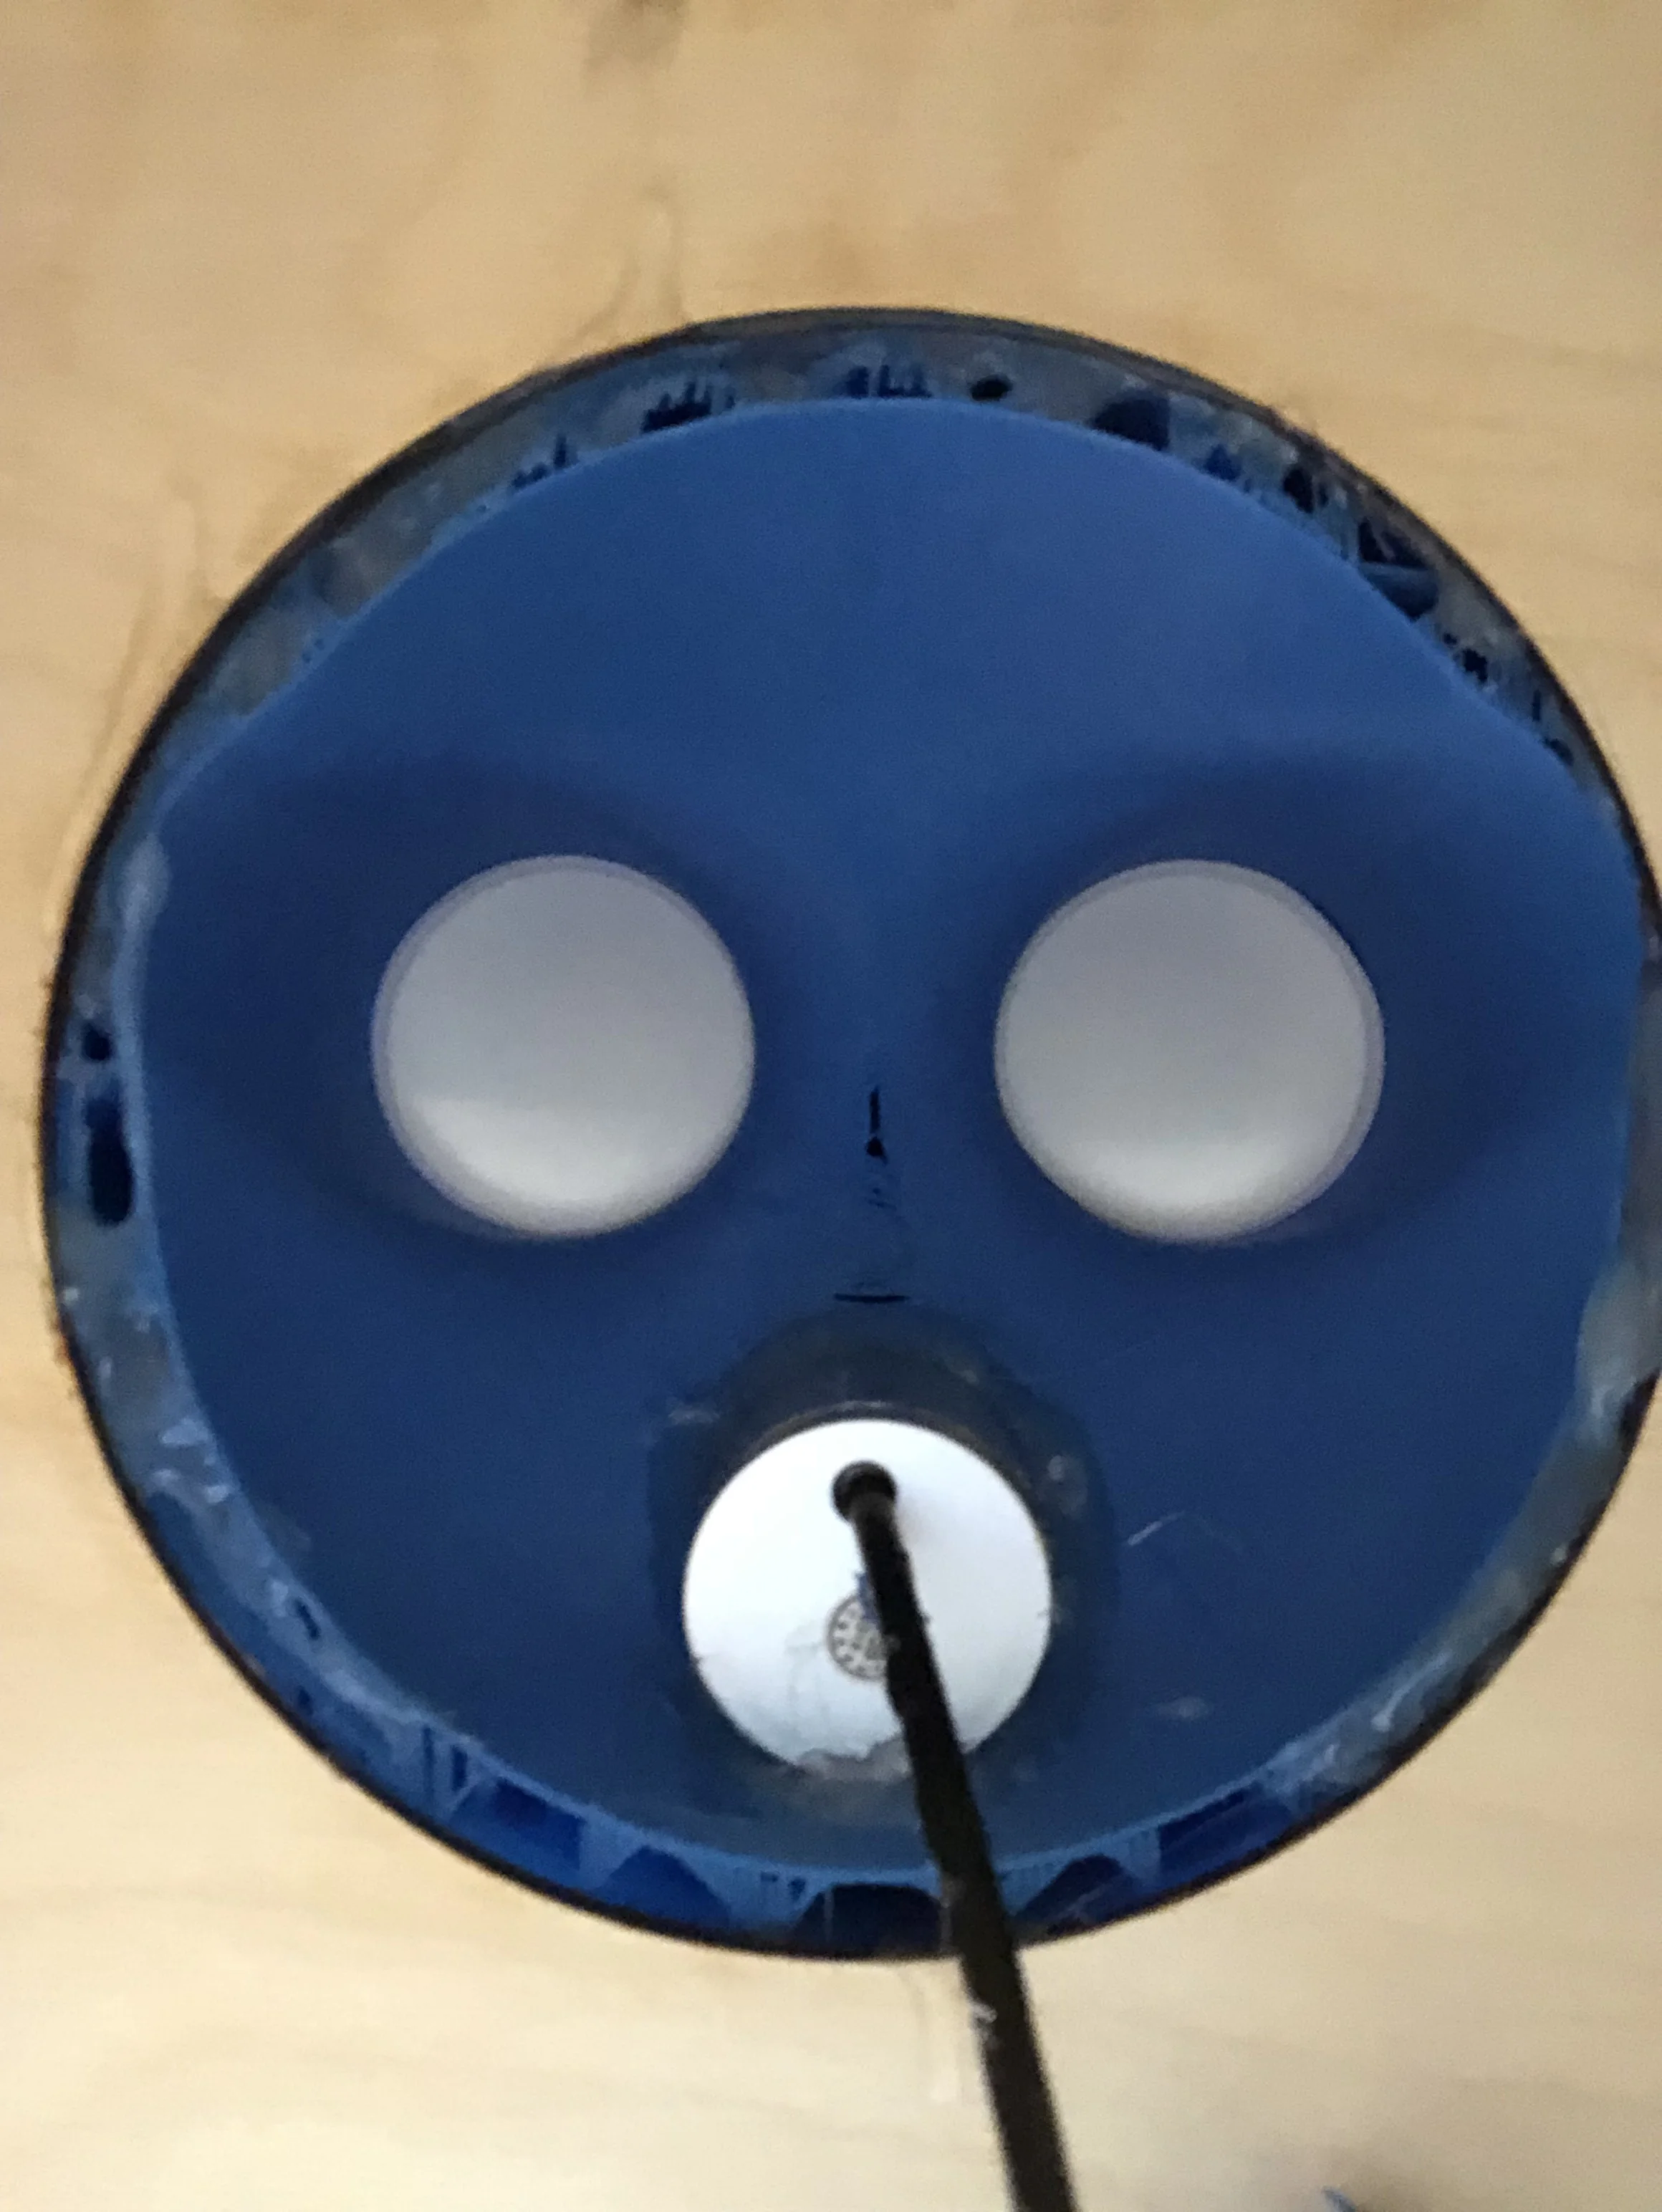
I modeled this head that I could mount on a laser cut plywood box. The plan was to back project the eyes with a digital projector I had that could be housed in the box. The original idea was to use a mirror to bounce the projection into the eyes, like this:
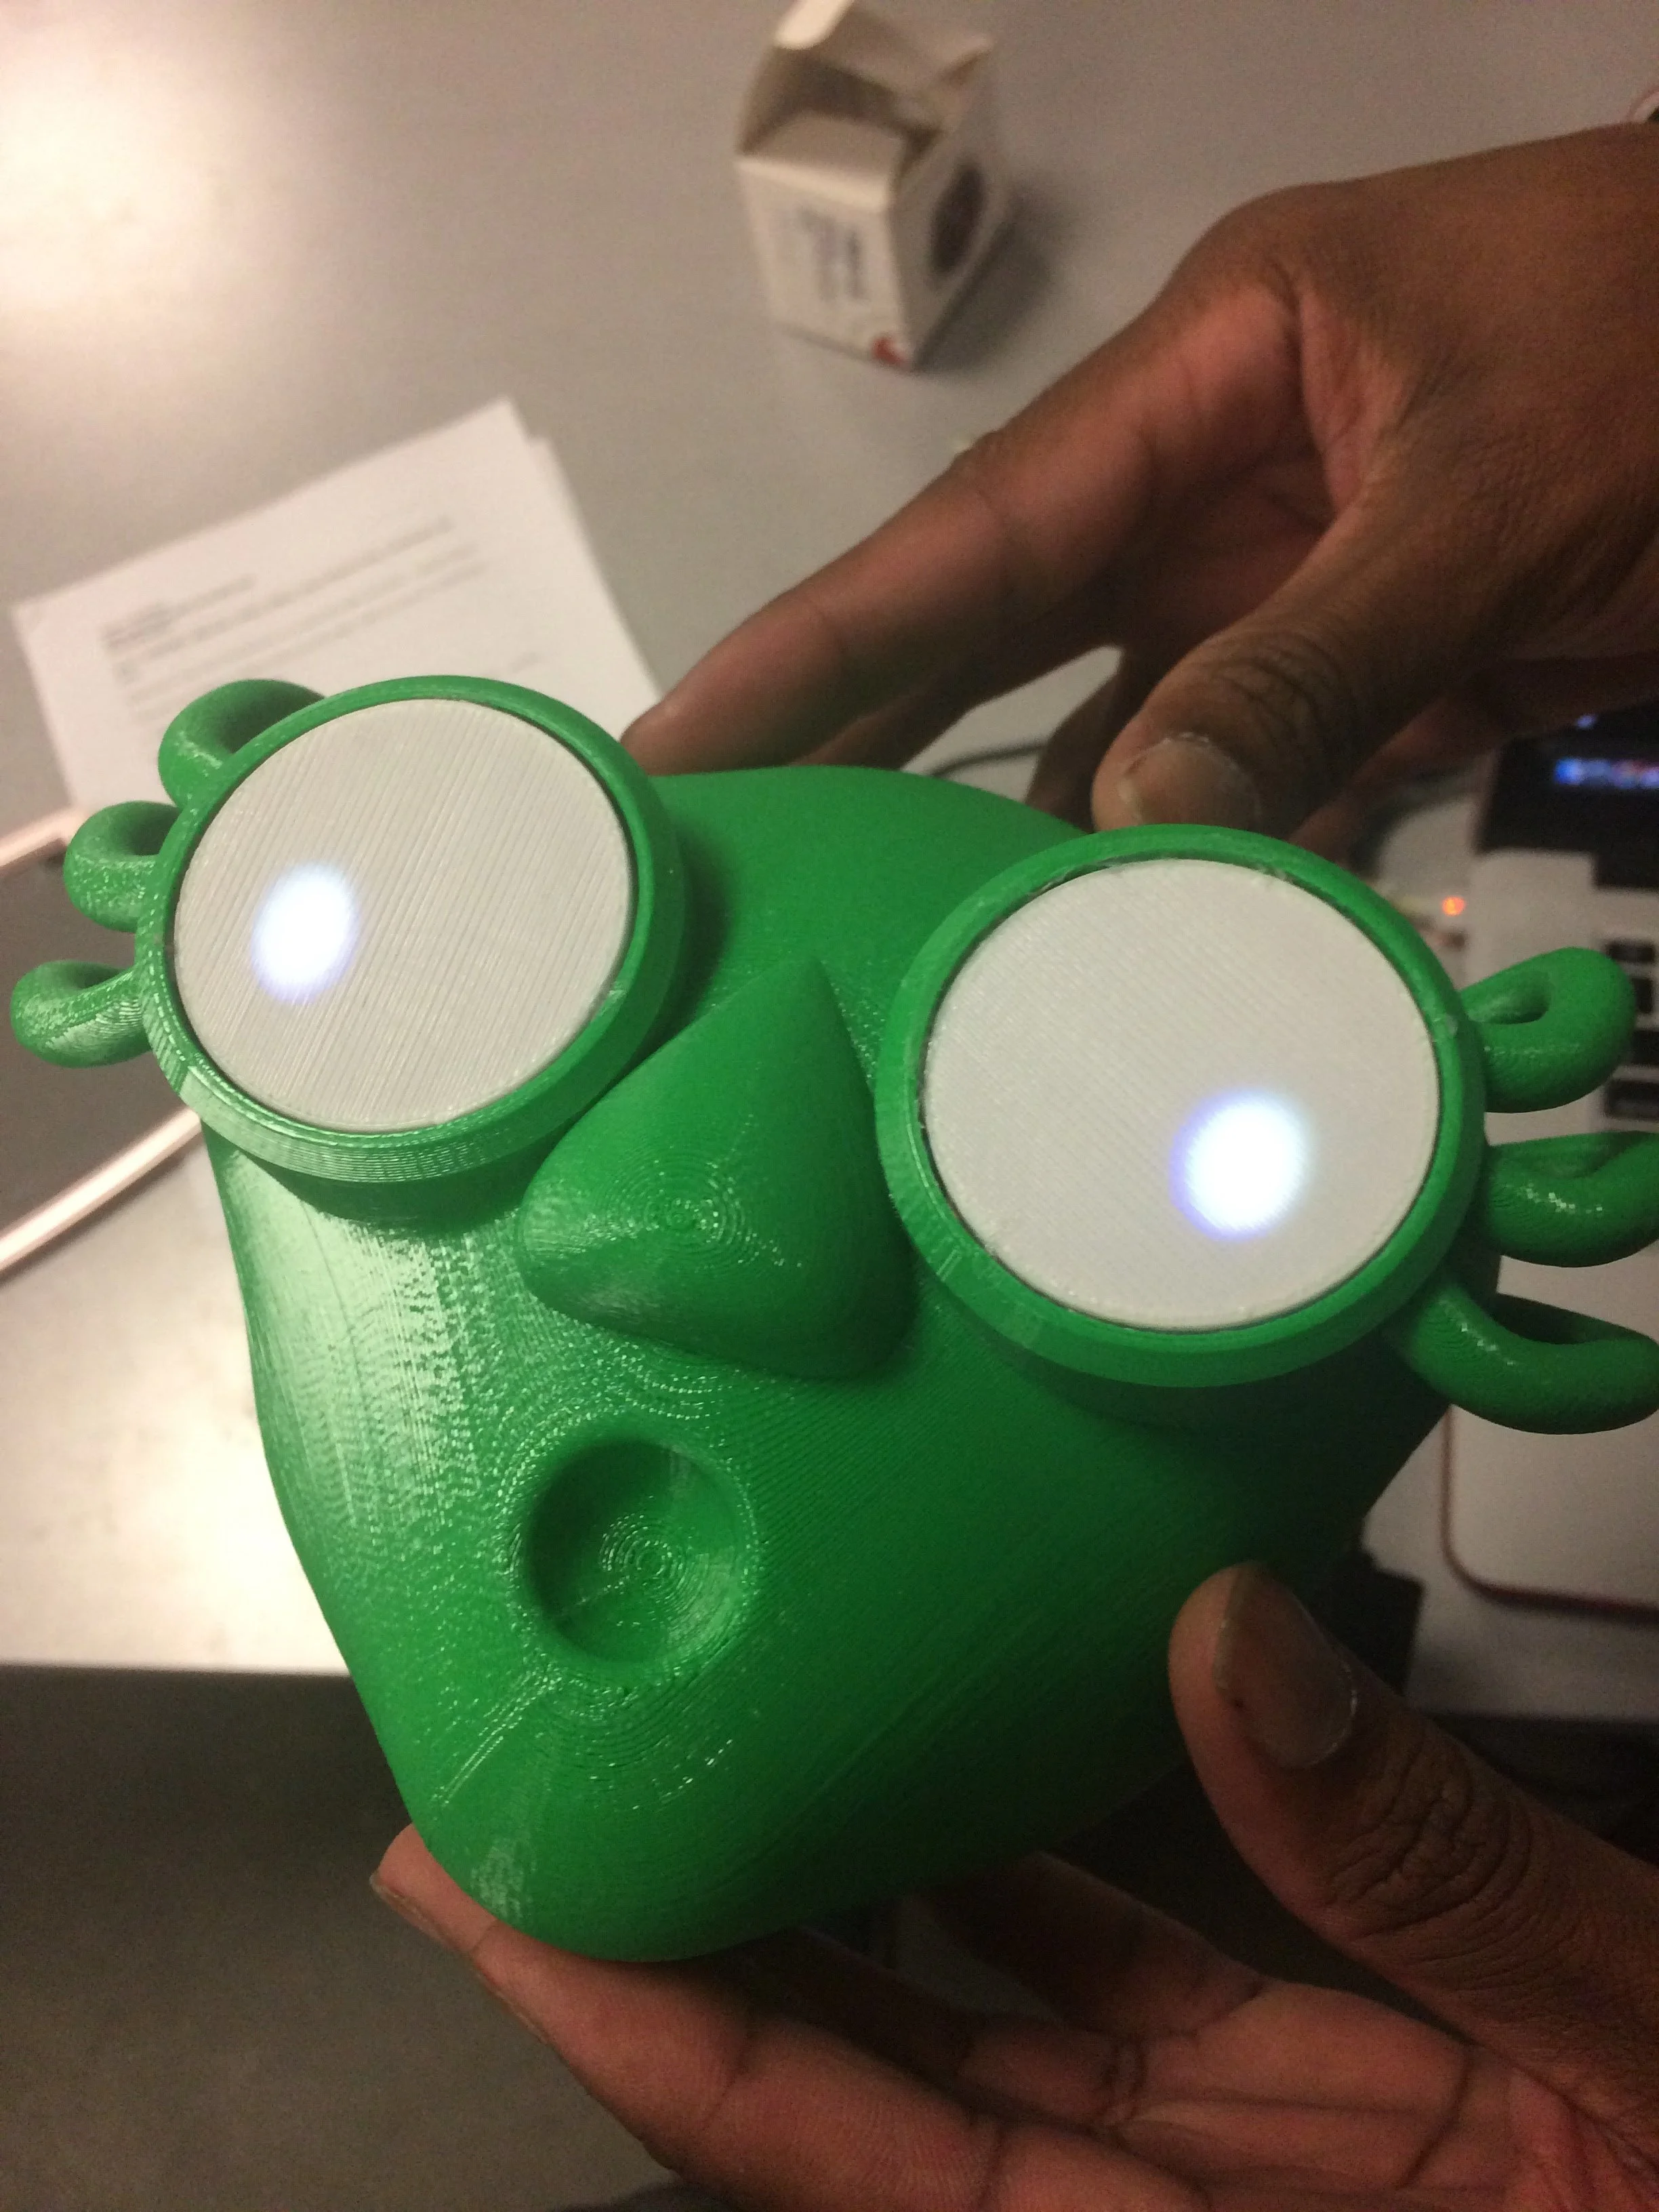
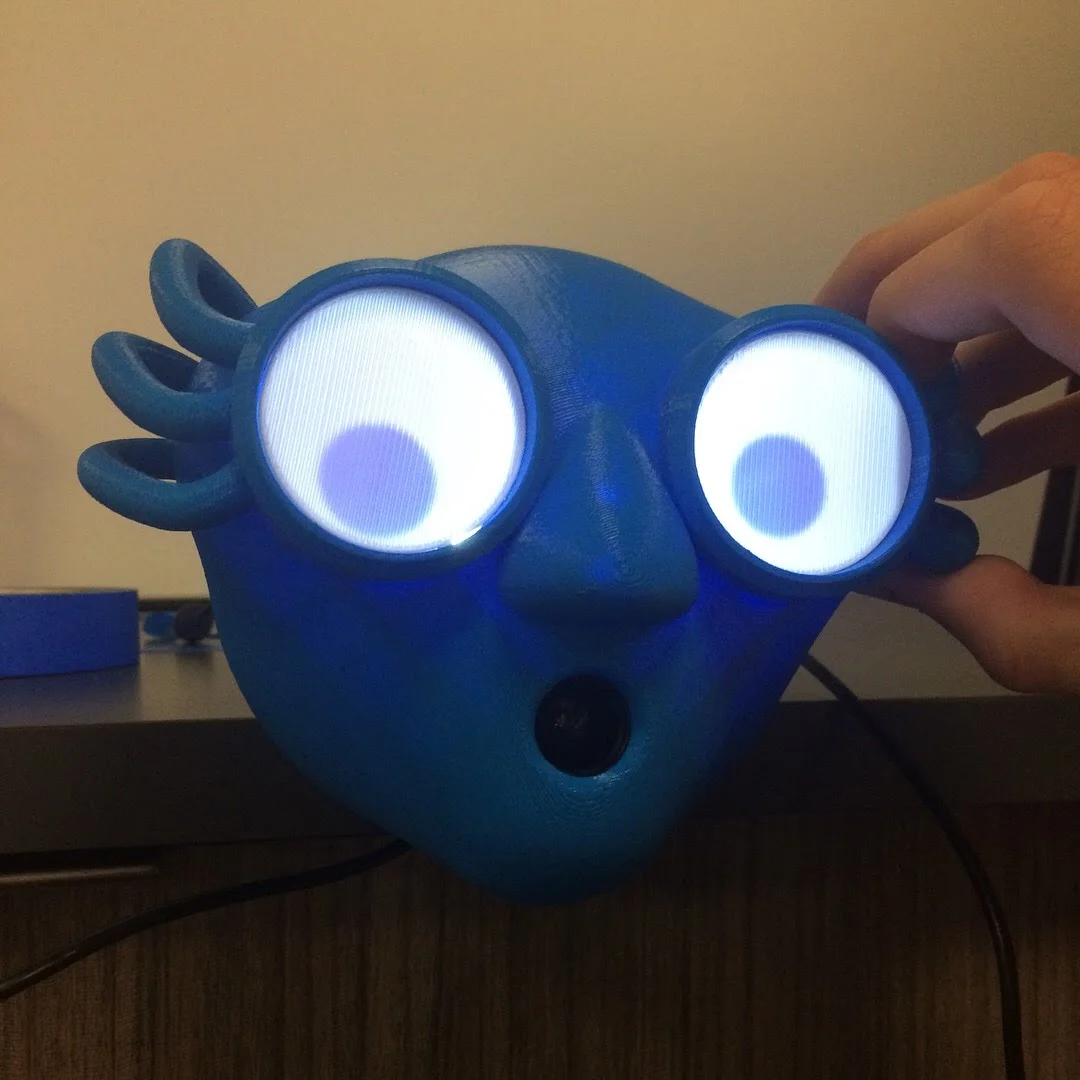
With this rough plan, I printed out the first pass of the head and began projecting the eyes into it.
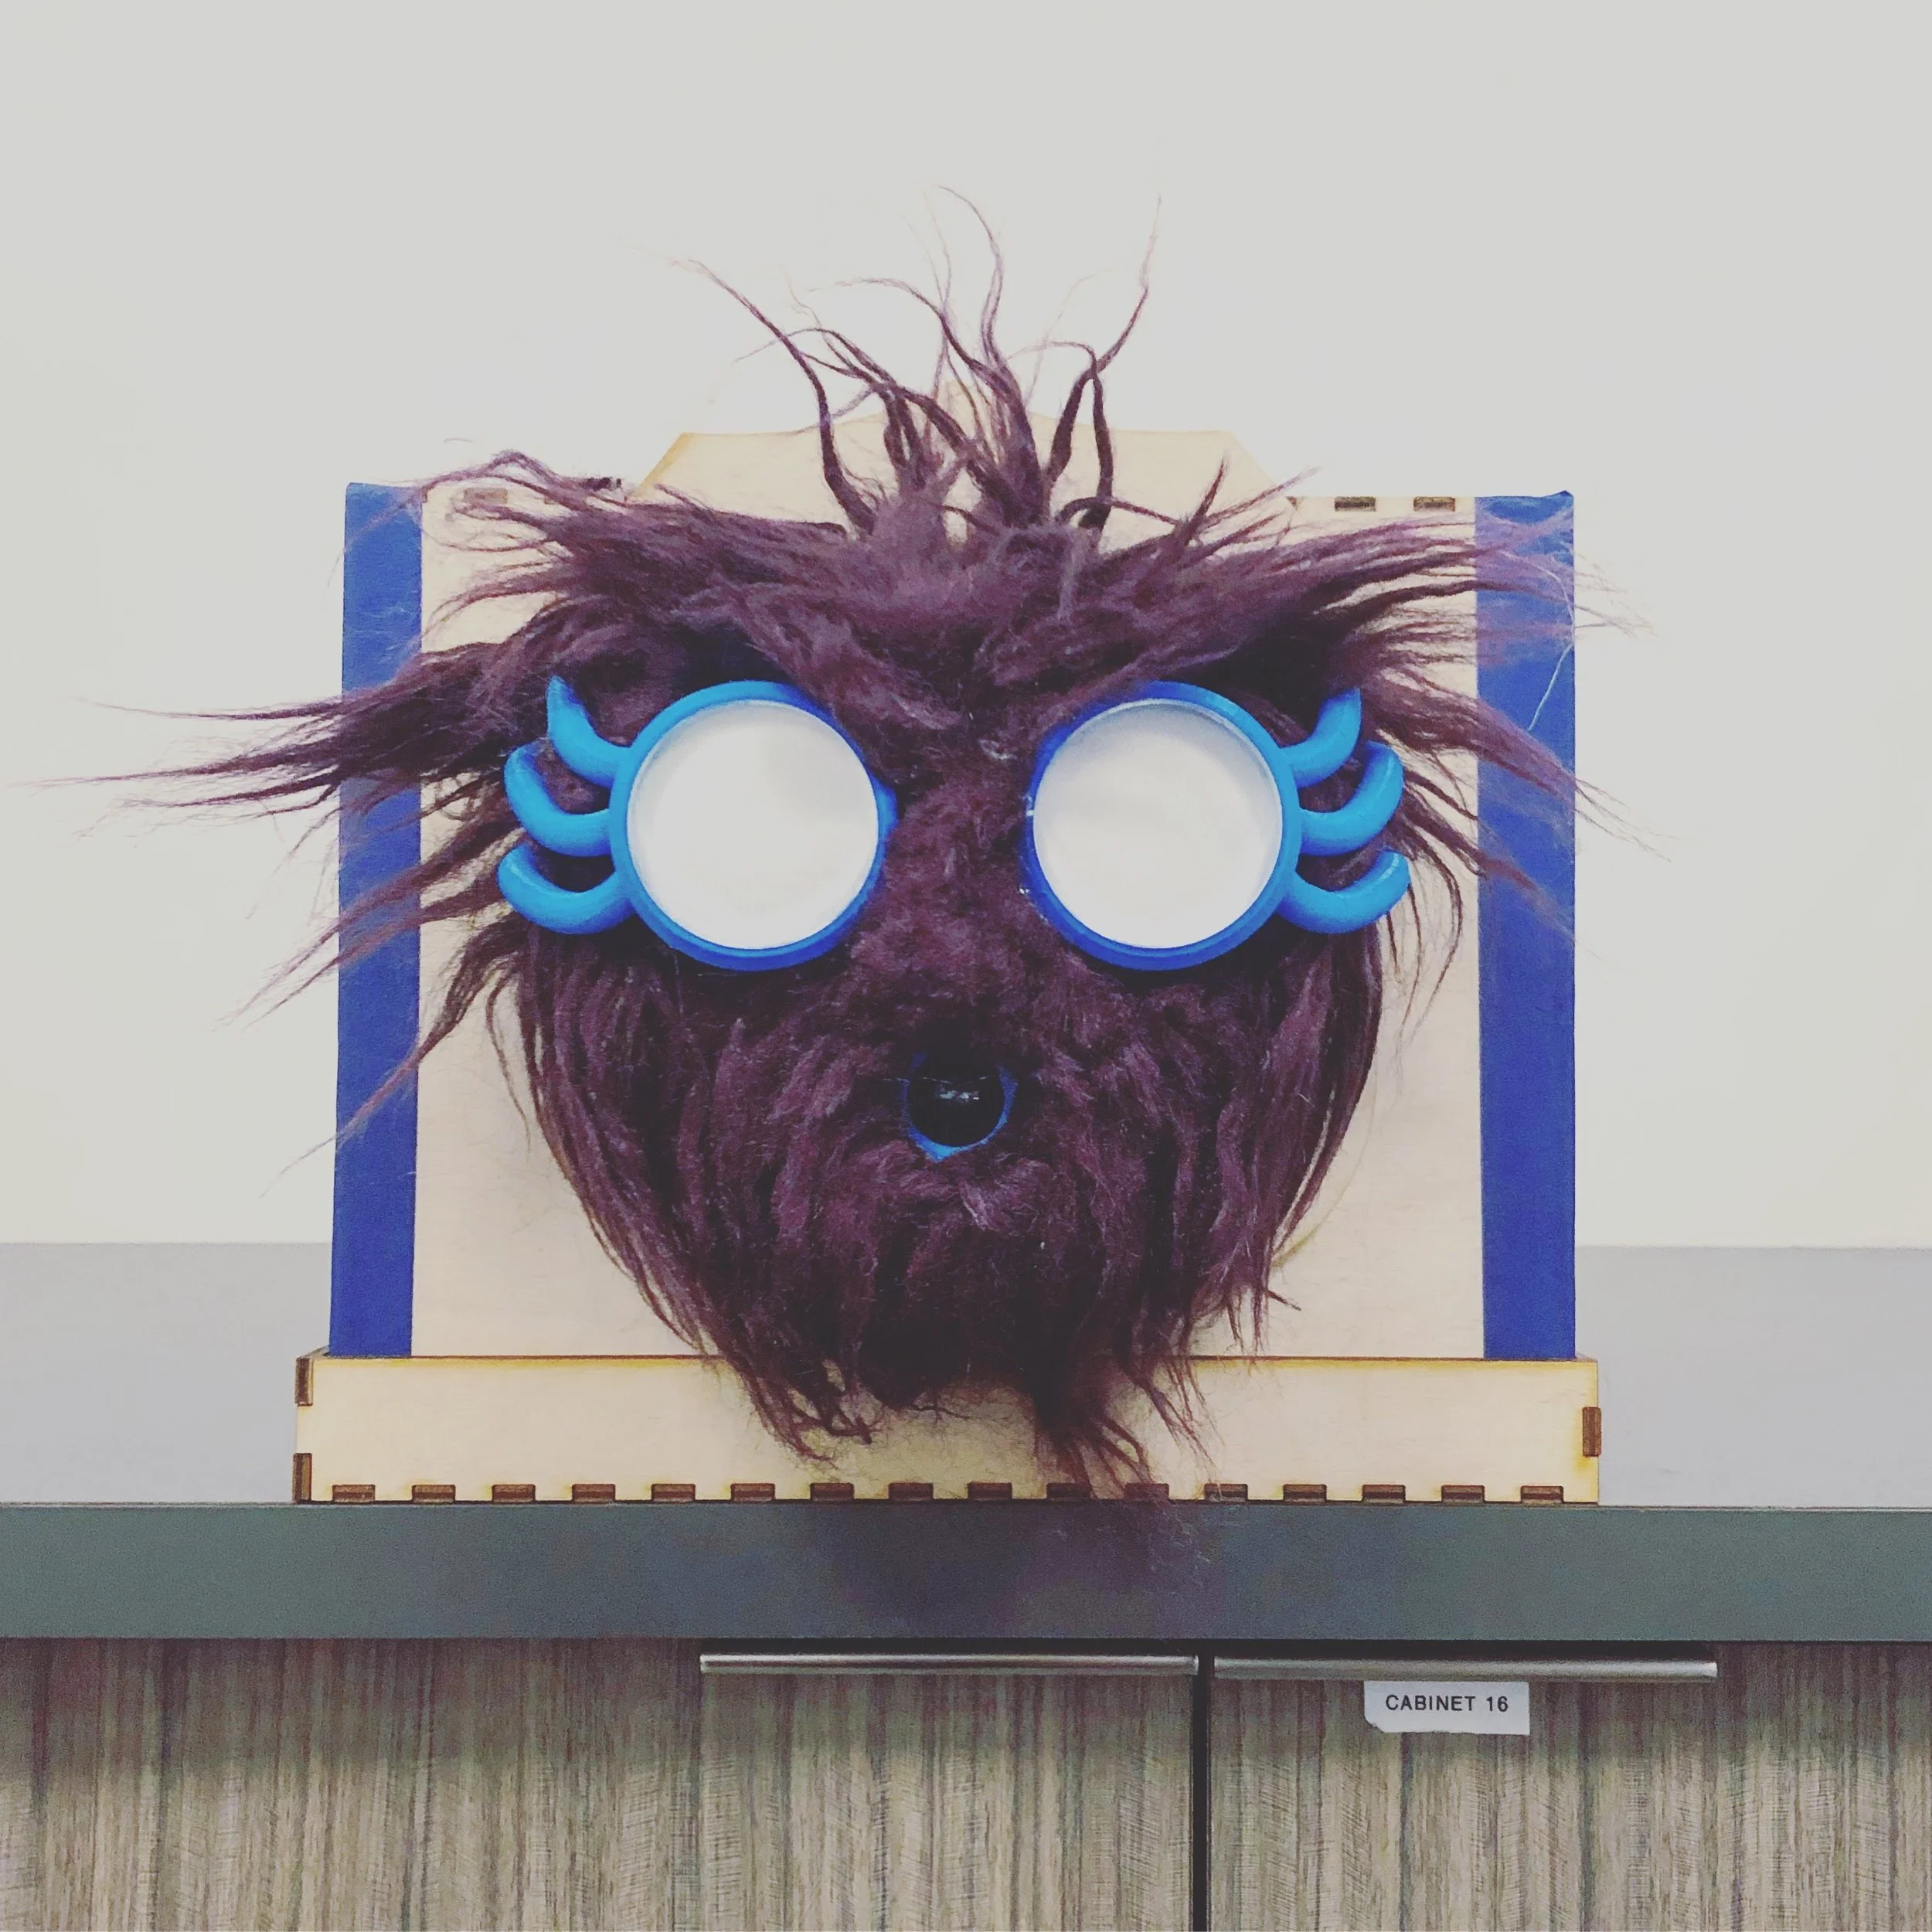
It was at this point that my friend Trent recommended that I hide the webcam that would capture the faces inside the mouth. So I made some modifications and printed head 2.0. Like I said before, baby steps. Once I printed out the new head, it all came together pretty quickly. I calibrated the eye placement to match the face I had created and assembled the housing for the projector and face. I also glued fur on the whole thing to add a bit more character.
Whew! That was quite the process. Overall I’m really happy with how my EYES turned out. The baby step iterative process got me so much further than I initially imagined, and the focus on 3D printing throughout the process immensely boosted my confidence modeling and printing. Here’s a small video demo of the final iteration. I hope you enjoy!


